If you're looking for a unique and cost-effective way to customize t-shirts, DTF transfers are the way to go. DTF, or Direct To Film printing, is a relatively new technique that allows you to transfer high-quality prints onto garments with minimal equipment and hassle. In this step-by-step guide, we'll walk you through the process of applying DTF transfers to create stunning custom t-shirts.
What are DTF Transfers?
DTF transfers are a type of digital printing that involves printing images onto a special film using DTG (Direct To Garment) printers. The film is then applied to the t-shirt, and the design transfers onto the fabric during the application process. This method allows for vibrant, detailed prints that are durable and long-lasting.
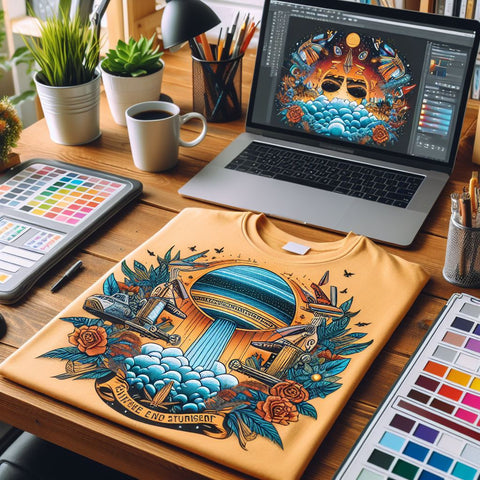
Step 1: Designing the DTF Transfers
The first step in applying DTF transfers is creating or obtaining a design that suits your vision. You can use graphic design software or work with a designer to create a custom design that reflects your style or brand. Make sure the design is scalable and high-resolution for the best results.
Step 2: Preparing the DTF Printer
Once you have your design ready, it's time to prepare your DTF printer. Follow the manufacturer's instructions to set up the printer and install the necessary software and ink cartridges. Ensure that the printer is clean and in proper working condition before proceeding.
Step 3: Printing the DTF Transfers
Load the DTF film into the printer and adjust the print settings according to the manufacturer's guidelines. Test print a small section to ensure the colors and details are accurate before printing the full design. Once the test print is satisfactory, proceed with printing the DTF transfer.
Step 4: Curing the DTF Transfers
After printing the DTF transfers, let them sit for a few minutes to allow the ink to dry. Once dry, transfer the film to a DTF heat press and set the heat and pressure as recommended by the transfer film manufacturer. This step is crucial as it ensures the ink bonds with the fabric during the application process.
Step 5: Preparing the T-Shirt
While the DTF transfers are curing, prepare the t-shirt for application. Ensure the fabric is clean, dry, and free from any wrinkles, as they can affect the transfer process. Use a lint roller or adhesive tape to remove any loose fibers or debris from the surface.
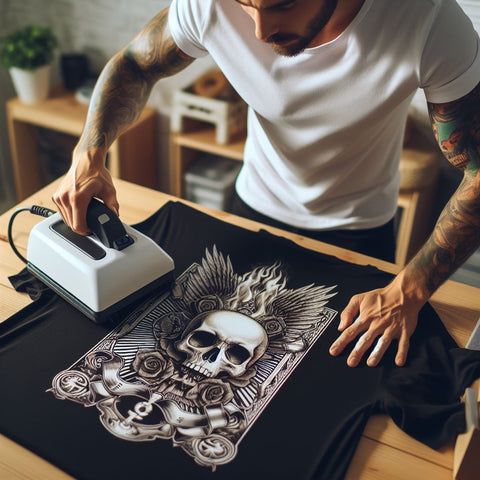
Step 6: Applying the DTF Transfer
Once the DTF transfers are ready, it's time to apply them to the t-shirt. Place the transfer film face down onto the fabric, ensuring the design is correctly aligned with the desired location. Use heat-resistant tape to secure the transfer in place, preventing any movement during the application.
Step 7: Transferring the Design
With the DTF transfer in place, close the heat press and apply the recommended heat and pressure settings. The heat press will activate the adhesive on the film, causing the design to transfer onto the fabric. Ensure you follow the recommended time and temperature guidelines for optimal results.
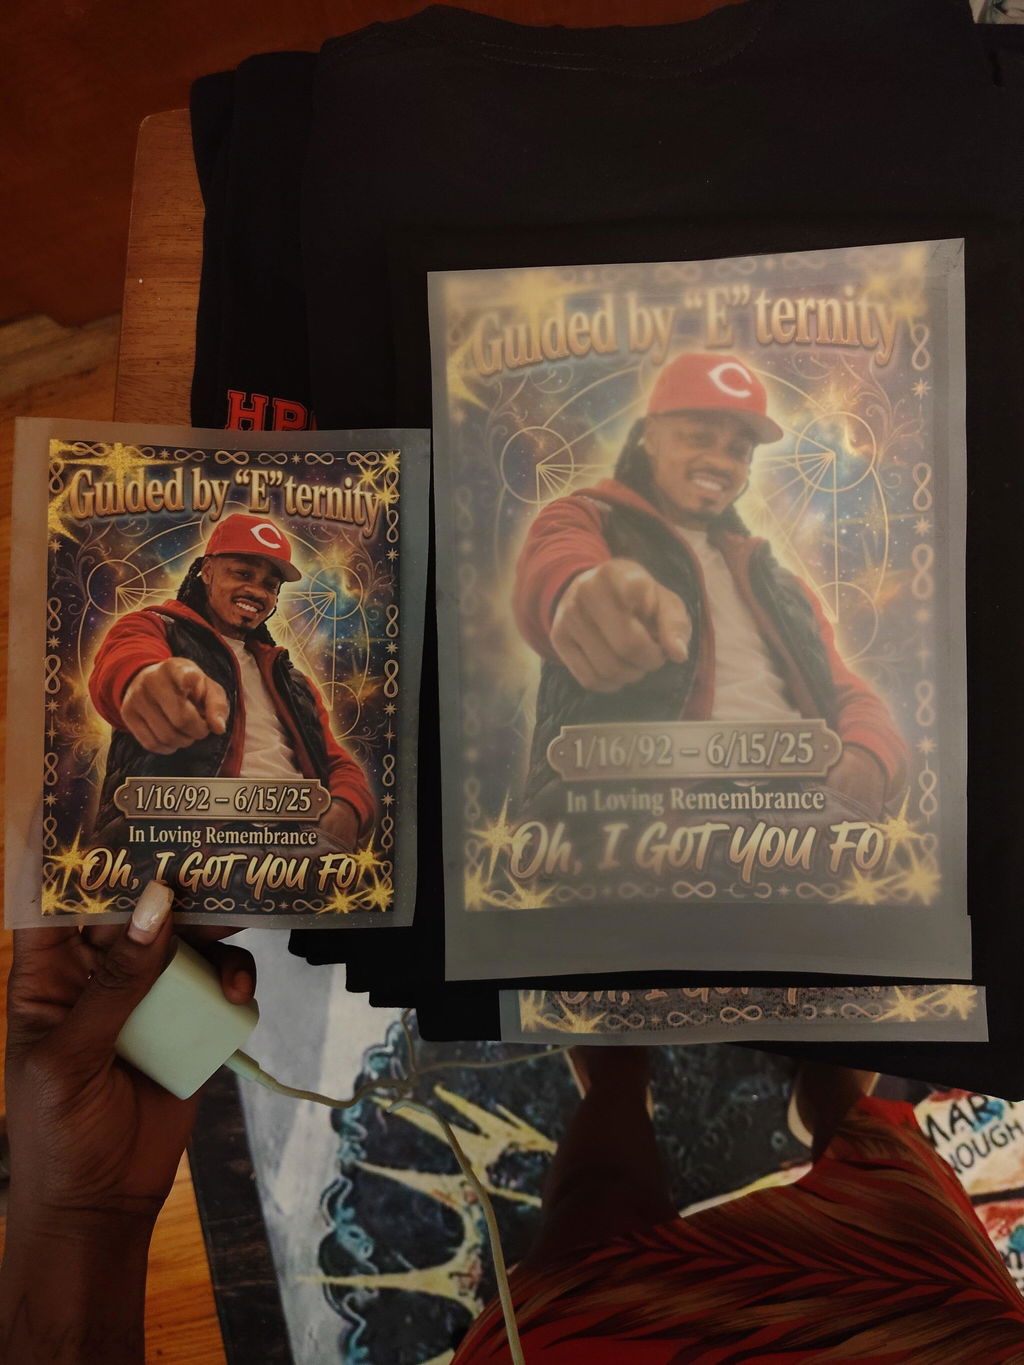
Step 8: Cooling and Peeling
After the transfer process is complete, carefully open the heat press and allow the t-shirt to cool down. Once cooled, gently peel off the transfer film, starting from one corner and pulling diagonally. Take care not to disturb the printed design or stretch the fabric during this process.
Step 9: Finishing Touches
Inspect the transferred design for any imperfections or areas that need touch-ups. If necessary, use a heat gun or heat press to fix any minor issues. Ensure you follow the manufacturer's recommendations for any additional steps required to finalize the design.
Step 10: Quality Assurance
Before sending the custom t-shirt to your customer or wearing it yourself, perform a quality check. Ensure the design is vibrant and matches your initial vision. Look for any peeling or signs of wear that may require additional care or touch-ups.
Step 11: Washing and Care Instructions
To ensure the longevity of your custom DTF printed t-shirts, provide your customers with washing and care instructions. Advise them to turn the garment inside out before washing, use a gentle cycle with cold water, and avoid using bleach or harsh detergents. Also, suggest air-drying or using a low heat setting in the dryer.
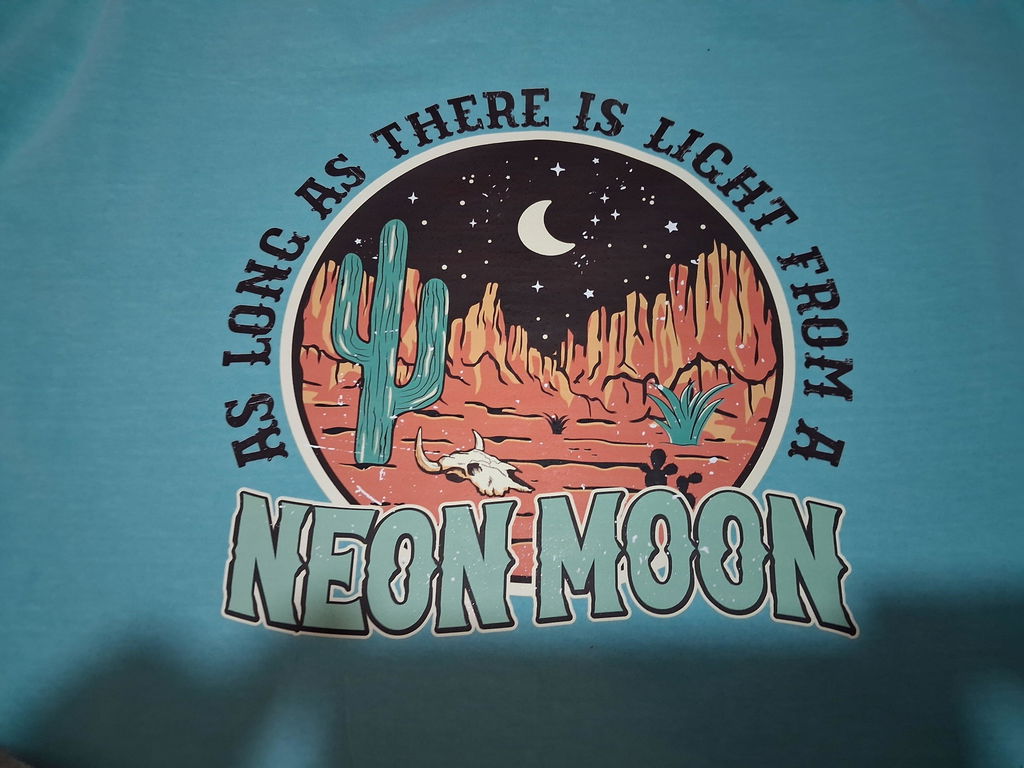
Step 12: Showcasing Your DTF Prints
Now that you've mastered the art of applying DTF transfers, get creative! Showcase your custom t-shirts on your Shopify store or social media platforms. Highlight the unique benefits of DTF printing, such as vibrant colors, intricate details, and durability. Share customer testimonials and photos to attract more buyers.
In conclusion, DTF printing offers an accessible and efficient way to create custom t-shirts with high-quality prints. By following this step-by-step guide, you can confidently apply DTF transfers to bring your designs to life. Start experimenting with different designs, colors, and fabrics to make your custom t-shirts stand out from the crowd. Happy printing!


Comments (0)
There are no comments for this article. Be the first one to leave a message!